Love them (if only for their looks), or hate them, conversation hearts are a classic symbol of Valentine’s Day, as much as oysters, lobsters, or heart-shaped boxes of chocolate—which candy hearts actually outsold the last two years running. You may have heard there’s a shortage of them this year since their parent company, Necco, closed down in 2018, but luckily, it’s incredibly easy—and fun—to make DIY conversation hearts at home.
Where Did Conversation Hearts Come From?
You’ve probably been aware of those tiny, brightly colored, message-bearing candies made of compressed chalk and corn syrup (to hazard a guess) for your whole life, but you might be surprised to learn just how long ago they were born. Necco, manufacturers of the eponymous wafers, started making Sweethearts in 1688, though they didn’t take their classic miniature heart form until 1902. Their slogans changed with the times, but they remained constant.

Blair Candy
According to Business Journal, conversation hearts were the best-selling Valentine’s Day candy last year, “pulling in $1.8 billion in sales and taking the top spot for the second year in a row”—and yet, now they are no more. Well, that’s not quite true. You can get chalky, tooth-threatening, multicolored candy hearts with printed messages on them from other companies, and Spangler Candy Co. (which bought the now-defunct Necco), has vowed to bring back the original Sweethearts in 2020.
But you don’t need any of them, because it’s seriously easy to make your own!
How Do You Make Your Own?
Just follow our Easy DIY Conversation Heart Candy recipe. It does take time, a bit of special equipment, a lot of powered sugar, and some amount of patience, but no special skills (and no candy thermometer—which is honestly the only reason I was willing to try it).
It’s a great activity for kids, or crafty cohorts your own age, and having help definitely makes it quicker to churn out the hundreds of hearts you’ll get from the recipe. Put some music on and the time will fly (for the most part). Is it really worth it? I think so, and I don’t even like candy hearts—well, not eating them, although these homemade versions are far more palatable than what I remember fishing out of bags in grade school.

Neil Tierney
Despite the fact that it’s just basically two pounds of powdered sugar held together with a quarter cup of lemon-lime soda and a sprinkle of gelatin, plus the food coloring and flavor extract combos of your choice, these homemade hears are tasty (if sweet), and are certainly charming as all get-out. Plus, you get to customize all your messages, so these make great gifts.
Our recipe will take you through all the steps in detail, but below, find some additional notes on equipment and technique based on my own experience making them.
Essential (and Optional) Equipment
KitchenAid Artisan Series 5-Quart Tilt-Head Stand Mixer, $499.99 at KitchenAid
Add conversation hearts to the long list of things the classic KitchenAid mixer makes incredibly easy. Use code CHOWHOUND10 to get 10 percent off everything at KitchenAid.com.
You might not absolutely need a stand mixer for this project, but I would not want to make it without, as the candy dough gets extremely stiff and sticky. I’ve never heard my KitchenAid’s motor strain before, but it still did the job in just a few minutes.
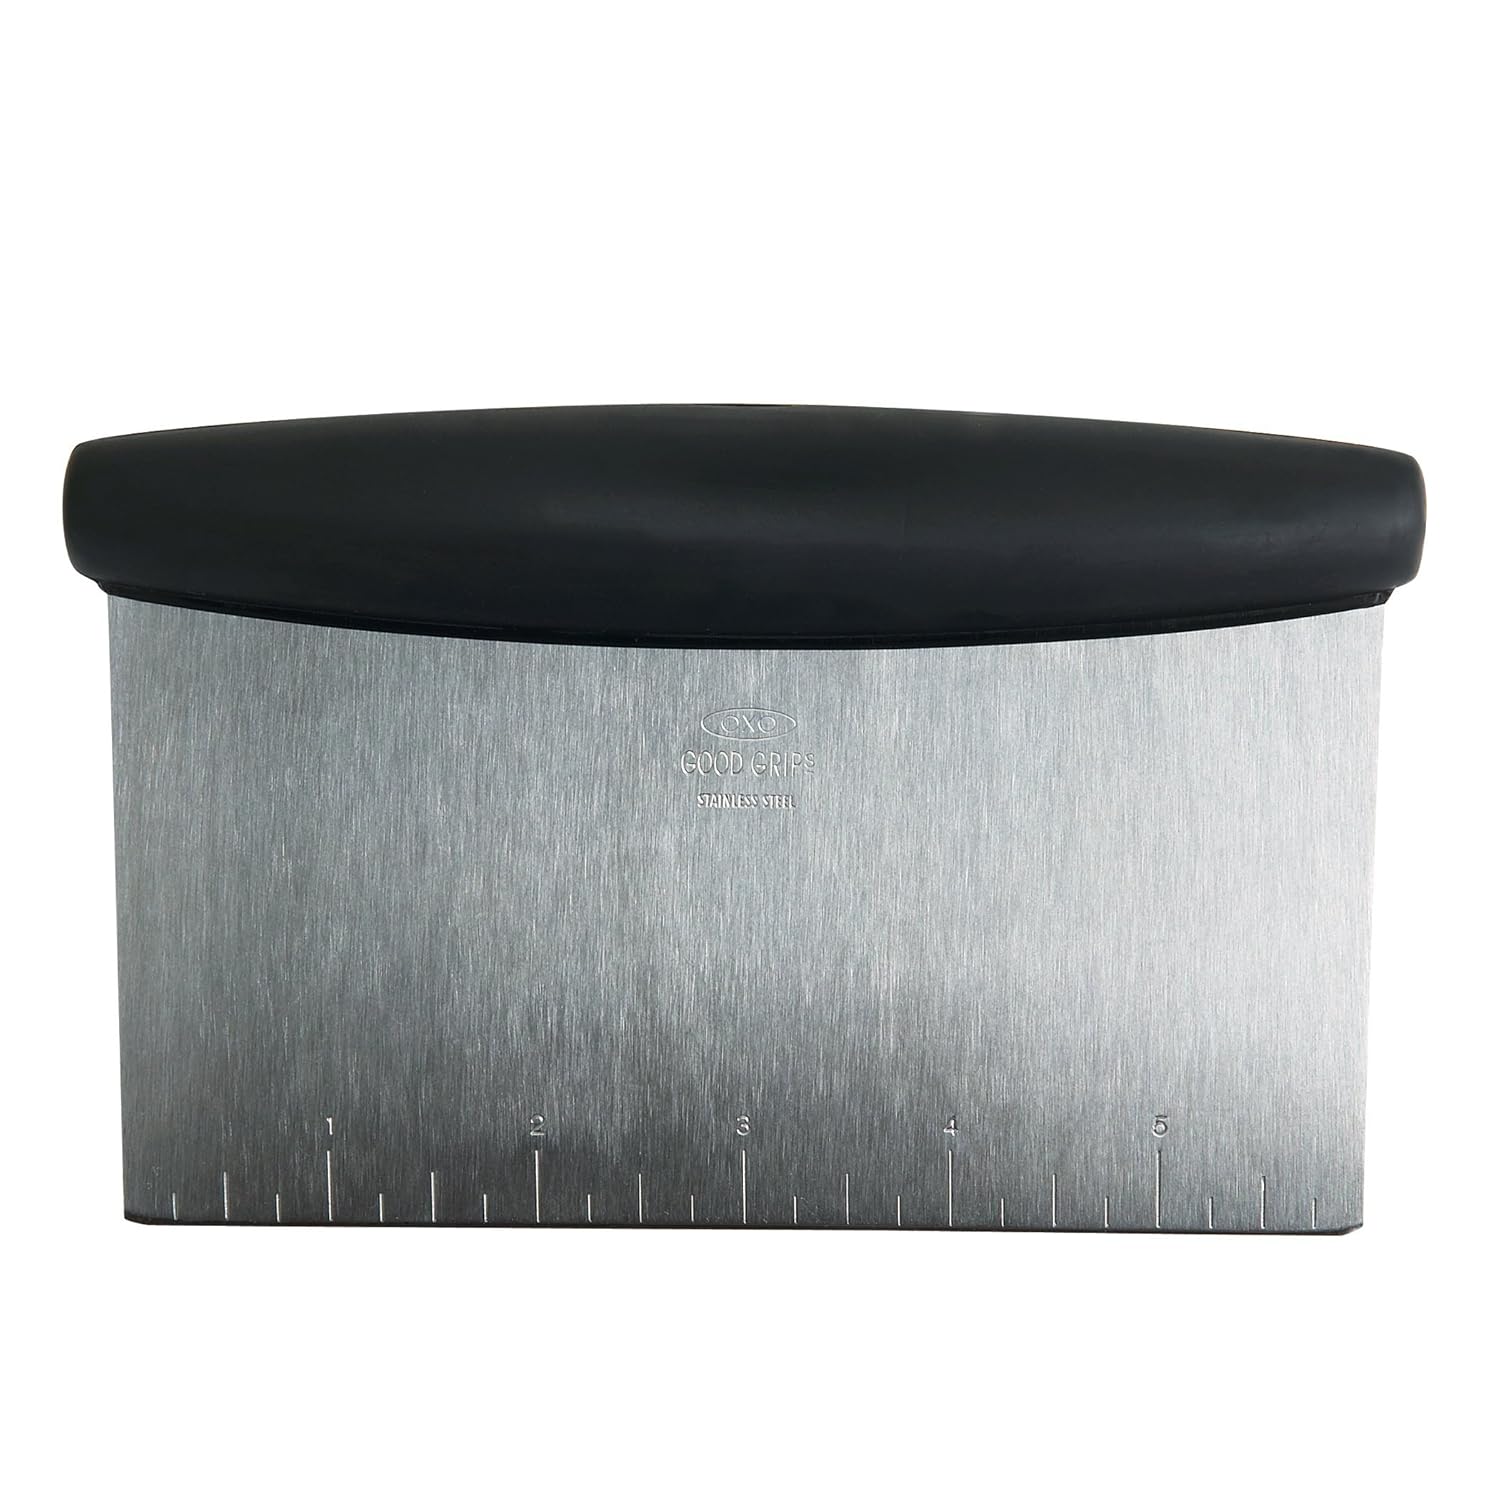
OXO Good Grips Stainless Steel Scraper and Cutter, $9.99 on Amazon
For dividing and scraping up the dough.
A bench scraper is good not only for cutting the dough into portions, but scraping any stuck-on scraps up off your work surface between rolling out batches of the tinted dough, so you don’t get pink specks in your green hearts and so on. (I’m between bench scrapers, so I just used a butter knife, but this wider blade probably would have made it easier!)
StarPack Vegetable Cutter Shapes, 5 for $7.80 on Amazon
Meant for bento, but perfect for fondant and candy too.
To cut hearts large enough to write on, you’ll want to get 1-inch metal cutters; I bought this set of bento cutters with one heart and four flower shapes (which I plan to use for spring candy, maybe to decorate a cake). Intended for cutting fruit and veggies into cute little shapes, they were perfect for cutting the candy dough, but any mini cookie cutters will also work.
Fox Run Mini Heart Fondant Plunger Cutters, 3 for $15.96
Mass-produce miniature hearts in a trio of tiny sizes.
I also bought these much smaller heart-shaped cutters because I wanted a mix of sizes, and they were fantastic for the job (though intended for fondant, so also good to have if you like to decorate cakes and cupcakes). They were only $5.99 when I ordered them online, so it’s worth checking local craft and baking supply stores to see if you can sang them at a lower price. The tiniest one was too tiny to bother with for this purpose, I thought, but I was happy to have the other two sizes.
Wilton FoodWriter Extra-Fine Tip Edible Color Markers, 5 for $10.09 on Amazon
Edible ink makes these markers suitable for writing on your food.
Our recipe calls for edible markers to decorate the hearts, so I bought these and they work great—but I wasn’t totally happy with my handwriting, so I upgraded to the stamp option below. That said, writing on the hearts with markers would definitely be the quicker option, if time is of the essence!
Amytalk Alphanumeric Roller Stamp, $16.99 on Amazon
Neat block letters for those who can't make them freehand (me).
This is the stamp I used to decorate my hearts, and while it required a fair amount of fiddling with the plastic wheels and rubber belts, it worked well! It has eight rows of characters; each row contains all 26 letters of the alphabet (in all caps), numbers 0-9, and a few symbols (. / # & etc.). I really wished there was an @ symbol and I couldn’t get the N, M, or W to print reliably clearly, but otherwise, was quite satisfied with the effect I achieved. (I did originally buy this cookie stamp, but it was too slick and rigid to work for printing with food color “ink”—it might work to emboss the hearts while they’re still soft, so I plan to try that next time, but it seems even less user-friendly, since you have to swap out the letters each time, instead of simply turning the wheels on the rubber stamp.)
Speaking of fiddling, I preferred the results I got when I used one of these tiny paintbrushes to apply the food coloring to the rubber stamp, instead of dipping it into the “ink”—and it was also handy for touching up the occasional spots where the stamp didn’t transfer full letters to the candy dough (which was mostly because some of my hearts were uneven—but they still looked adorable, so don’t worry about being perfect!).
Flavor and Color Combos
These are almost literally endless, and entirely up to your imagination.
AmeriColor Food Coloring Student Kit, 12 for $25 on Amazon
Every color of the rainbow, and then some.
I just used six different bottles of food coloring already in my pantry, mostly cheap Kroger brands in the standard liquid form, but the “red” (which never colored the dough deeper than a pretty, dark pink) was a Wilton gel paste; both types worked fine, so use whatever you have or prefer. You can buy various shades, or mix your own colors—and make as few or as many colors of candy hearts as you like; it just depends on how many portions you divide the dough into. I made six, as our recipe calls for, but to be honest, my green and yellow hearts looked almost indistinguishable in the end.
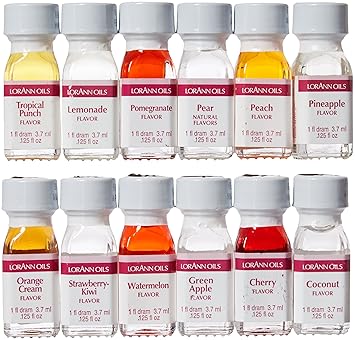
LorAnn Oils Gourmet Super Strength Fruit Flavor Extracts, 10 for $14.99 on Amazon
For fruity flavored hearts.
For flavorings, I used what I could find at the local Fred Meyer and in my cabinets: banana extract, almond extract, orange extract, mint extract, lemon extract, and violet liqueur (because I thought it would be a great match for the purple food coloring). Sadly, the liqueur wasn’t really noticeable with so much sugar in the dough, but you might try one with a stronger flavor to begin with than the relatively quiet violet. Rose water and orange water should also work—you can always take a nibble of dough and add more extract if need be (though too much liquid will make the dough looser and you’ll end up kneading more powdered sugar in to stiffen it, which will in turn mute the taste). I liked the punch of cool mint flavor from the green hearts, but my boyfriend said they tasted like toothpaste, so YMMV. You can find tons of other flavoring options online, so go wild with these.
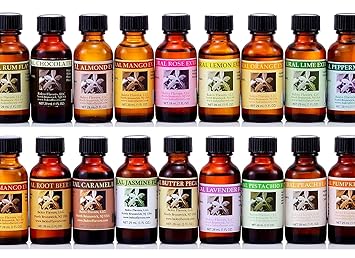
Bakto Flavors Extract Sampler, 6 for $24.99 on Amazon
Build your own six-flavor bundle from the array of enticing options on offer—from anise and caramel to jasmine and pumpkin pie.
Other Tips
- As the recipe notes, these do take a while to dry, so you have to plan to do the mixing, kneading, rolling, and cutting about two days before you want to decorate and eat your conversation hearts. (Mine seemed good to go after just one day, but they were in a freezing-cold garage, so again…YMMV.)
- Don’t be shy with the additional powdered sugar; generously dust your work surface, rolling pin, and hands to minimize the stickiness of the dough. Prepare to get powdered sugar all over the floor, and wear an apron if you have one, but know that you’ll still get dusted too.
- And do wear those latex gloves the recipe suggests if you don’t want tie-dye fingers for the next day or two (again, I speak from experience).
Above all, have fun with these, and prepare to delight your Valentine (or insult an ex with a particularly pointed message if that’s what you want to do)! Candy hearts will beat forever, Necco or no.
Get our Easy DIY Conversation Heart Candy recipe.
All featured products are curated independently by our editors. When you buy something through our retail links, we may receive a commission. For more great hand-picked products, check out the Chowhound Shop.
from Food News – Chowhound http://bit.ly/2MZJr5v
via IFTTT


No comments:
Post a Comment