

Knowing how to pull off perfect roast marshmallows is a worthy life skill, and not as simple as it may sound. August 30 is National Toasted Marshmallow Day (and Labor Day—one of many prime s’mores making occasions during summer—is just around the corner), so it’s the perfect time to learn how to achieve roasted marshmallow perfection.
There’s a lot to love about camping, but dessert might be near the top of the list, because sweet campfire treats means s’mores. The chocolate and graham crackers in the classic ooey gooey trio are both essential, but the sublimity of the miniature sandwich really hinges on the perfectly roasted marshmallow, which is both an art and a science. So how do you get that evenly golden-brown, crisp shell and warm, molten center?
One of the key factors is patience—this is not an endeavor where shortcuts yield an acceptable result. Thrust your marshmallow directly into the flames and it will catch fire and carbonize. Hold it just above the flames and the same thing will probably happen, though it may take longer, and you may be lulled into a false sense of assurance before the gentle bubbling and browning flashes over into bitter black immolation.
Allegedly, some people enjoy this style of charred marshmallow—cold, uncooked middle and all—but for the rest of us, a more measured approach is in order. Steps 3 and 4 are the most important, but it’s worth paying attention to all parts of the highly scientific process for the perfect bite.
1. Choose Your Stick
This can be a metal skewer, multi-pronged or otherwise, with a wooden handle, or better, an actual stick you’ve sharpened and shaved the outer layers from (at least at the top portion where you’ll be impaling your marshmallow). Skewers may seem more sanitary, but they’re also more annoying to clean. Sticks are in keeping with the rustic spirit of camping, and can simply be tossed into the flames at the end of the trip. Plus, it’s more fun to hunt for the perfect one. If you want to put some more thought into it than simply searching for the stick that looks right, this guide covers different types of wood for roasting, but it’s usually an instinctual thing with the feel of ritual to it. The stick should, of course, be long enough to keep your hand comfortably away from the fire, and should not be flimsy or floppy. If it starts splintering into shards when you whittle the tip into a tiny spear, toss it and find a more suitable specimen.

Chowhound’s Campfire Fondue S’mores
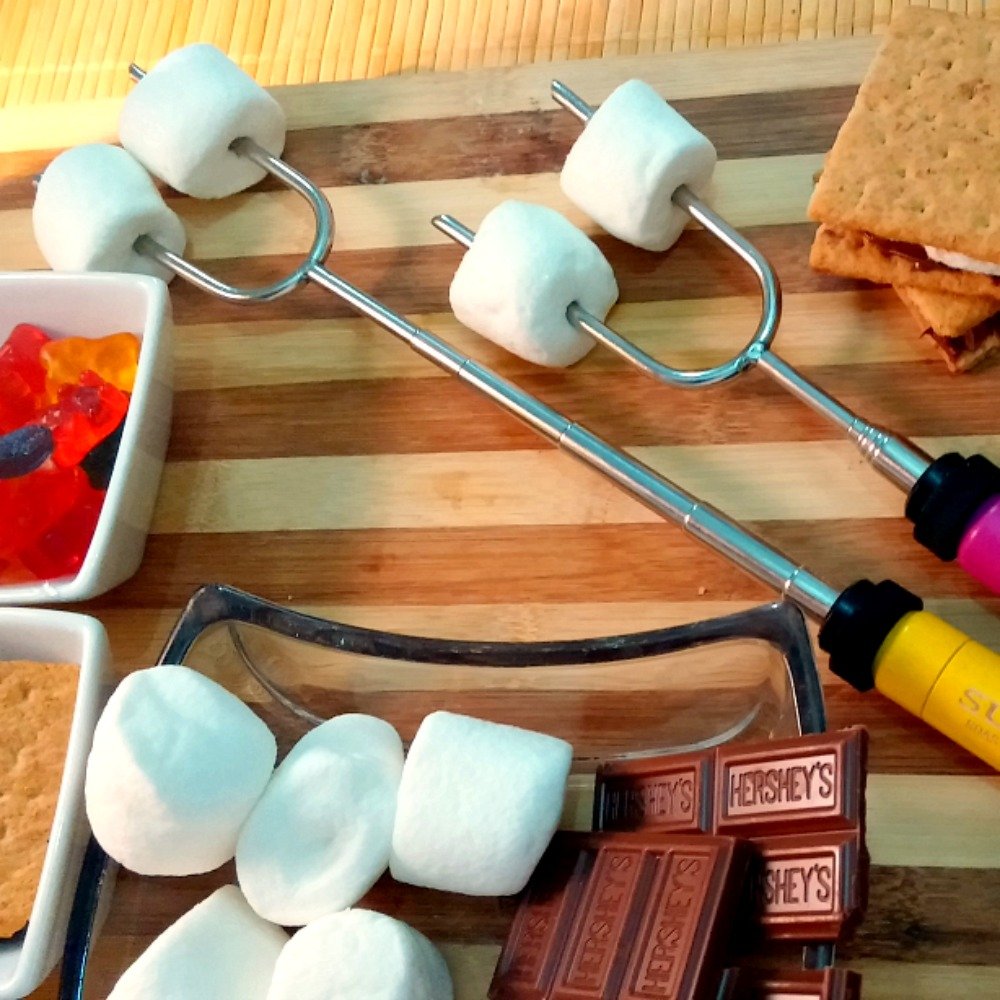
SUMPRI Marshmallow Roasting Sticks, 6 for $18.95 on Amazon
Whittling sticks is part of the magic, but you can also try these 34-inch extendable steel forks if you must.
2. Impale Your Marshmallow
Yes, it pays to take care here too. Stab it through the center since the marshmallow will sag and slide as its innards melt, and go all the way through the length of it so it doesn’t slip right off the tip of your stick as the airy, sugary puff heats up—but don’t thread it too far down or you’ll lose more of the melty goodness at its heart when you slide it back off to eat.

Stuffed Puffs Chocolate Filled Marshmallows, $3.98 at Walmart
We recommend only a single toasting for these chocolate-stuffed marshmallows.
3. Find the Sweet Spot
Your fire should have burned down quite a bit by the time you’re ready to roast your marshmallows, and you want to find a natural concavity in the pile of logs where there are glowing embers but no active leaping flames. Hold your marshmallow about 5 to 8 inches above this spot—if you can rest the stick on the edge of the fire ring or on a rock to keep it steady and an even distance from the coals, all the better.

Chowhound
4. Rotate Frequently
Frequent rotation paired with the more consistent heat of glowing coals (as opposed to flames) is what gets you that delicately crisp and caramelized outer layer, like a thin crust of earth over the liquid magma center. Be vigilant and give your stick a quarter turn every 20 seconds or so—or more or less frequently, depending on how fast you see toasting happening. Keep turning your little spit until the outside of the marshmallow is evenly browned and crisp and the whole thing sags somewhat away from the stick.
5. Cool It
It’s hard not to chomp into your perfectly roasted marshmallow right away, but remember how it’s like magma? Yeah. Blow on it a bit to cool it down somewhat before biting in, lest you scorch your entire mouth and toast your taste buds in the process.

Chowhound’s Homemade Chocolate Graham Cracker S’mores
6. Enjoy!
A roasted and slightly cooled marshmallow is divine eaten on its own, nibbled straight off the stick (although if you use a metal skewer, be careful, since those stay searing hot and will be like a fire poker straight to the lips), but its greatest application is probably squished between chocolate and graham crackers. To dress it up a bit, try making bacon s’mores, or use chocolate graham crackers and peanut butter. True connoisseurs who prefer their marshmallows unadulterated can slip the toasty skin off to savor, and then roast the gooey inner core again—or stick it straight into the fire against all advice, because it is really hard to wait.
Related Reading: The Ultimate Mix-and-Match S’mores Bar
No Campfire?
No problem. You can fashion miniature marshmallow roasters from terracotta pots, or turn your sticks patiently above the flames of a propane stove if you must, even over a regular kitchen stove burner if you’re stuck at home—or broil them in your oven if that’s your best option. (You can even toast marshmallows in your air fryer if you have one.) There is, of course, no better marshmallow than the one roasted over a glowing campfire under the stars, but any toasty, gooey marshmallow is better than none.
If you’re in LA and feel a sudden inspiration to pick up your stick, see How to Find Last Minute Camping in Los Angeles.
Related Video: How to Make Marshmallows
from Food News – Chowhound https://ift.tt/2Pma8G8
via IFTTT
No comments:
Post a Comment